Last month I received a very large spessartite garnet from one of my wholesale brokers — over 18ct! Spessartite this large is rather rare, but because of the cut and obvious inclusions, it just wasn’t selling for him. So, after some discussion, we decided the stone would be best recut to a more salable shape with fewer high-contrast inclusions. I seldom get to handle spessartite of this size, so I figured some process pictures were in order.
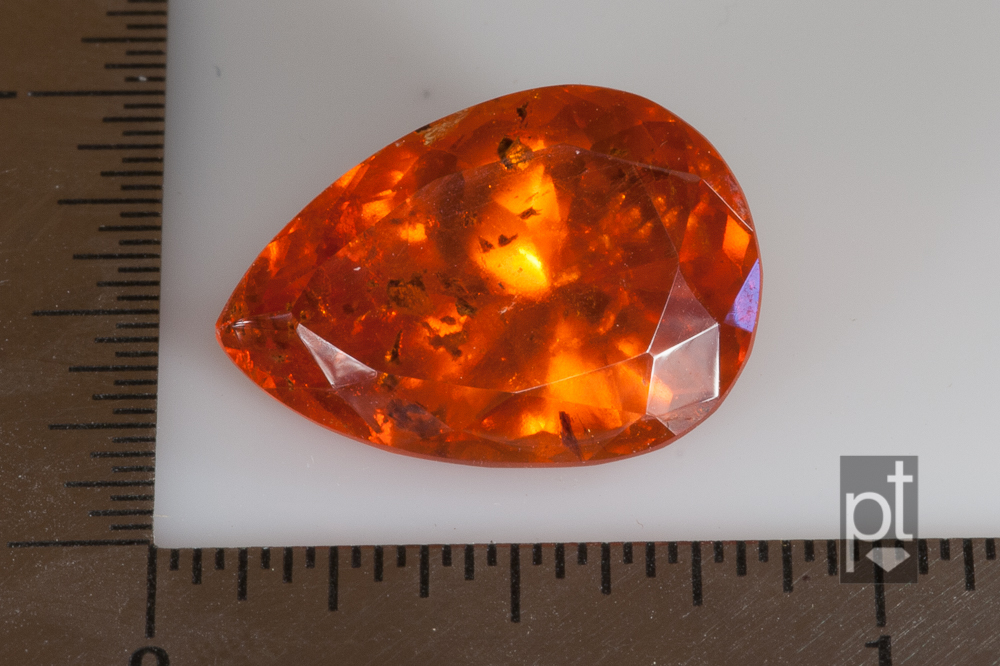
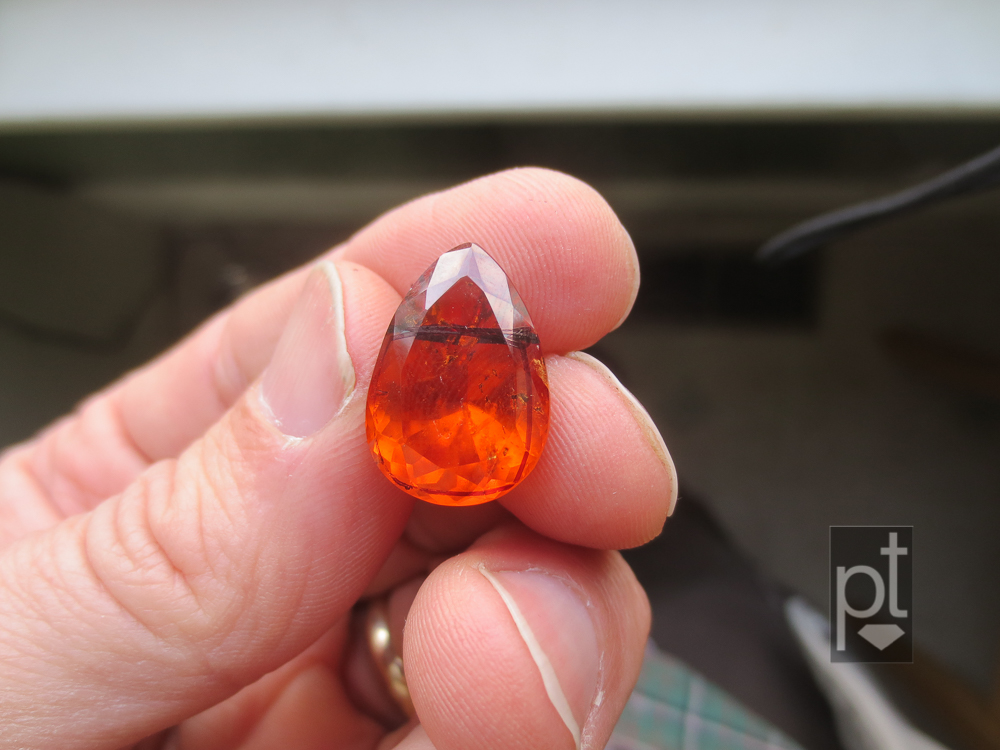
The stone began as a generic pear shape, 18.7ct, 13.6×19.5mm — this formal picture flatters the piece. In hand, the orange was more brown than you see here; the stone was overly dark because of the poor facet arrangment.
After a good bit of study (this was an 18ct+ spessartite, after all), I decided a square cushion would allow me to remove the greatest number of inclusions while maximizing the yield. Even so, it was obvious that a fair bit of weight had to be sacrificed to minimize the visual impact of inclusions.
Once I had a plan and marked the stone, I had to belly-up to the trim saw and get down to work. Of all the stages of faceting, this one scares me the most. Generally, if I make a mistake with the faceting machine (e.g., a misplaced or overcut facet), I can recover with more loss to my time than to the stone. But small mistakes with a trim saw can become big weight losses; no amount of rearranging facets can recover from a poorly placed saw cut.
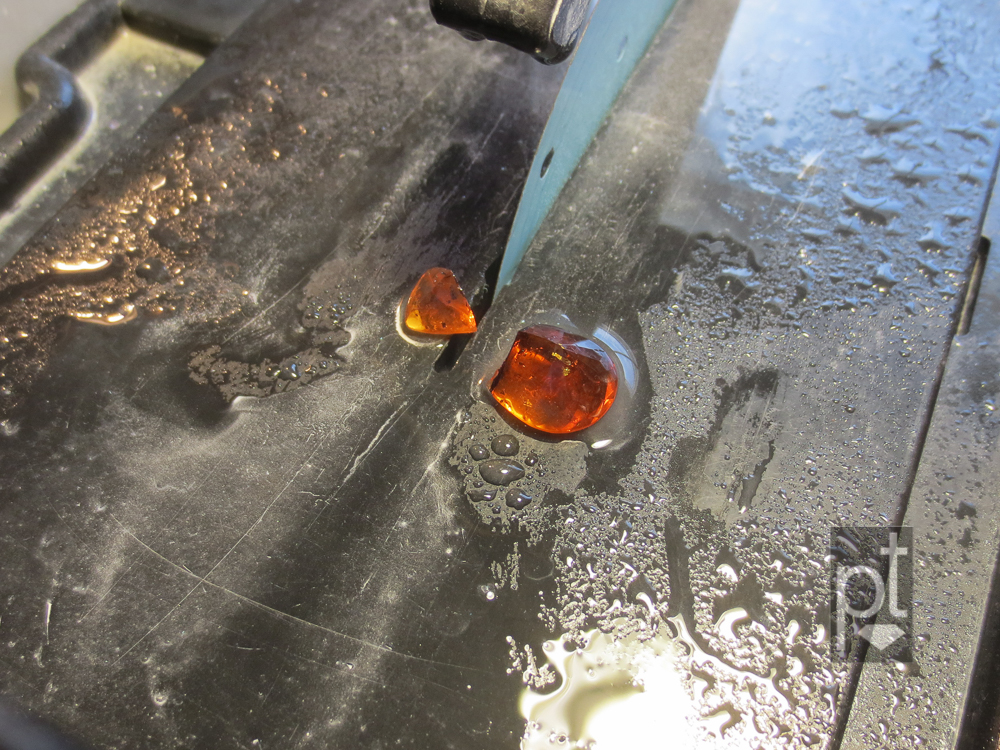
Happily, things went well this time and a single cut made two roughs for cutting. Time for a cup of coffee.
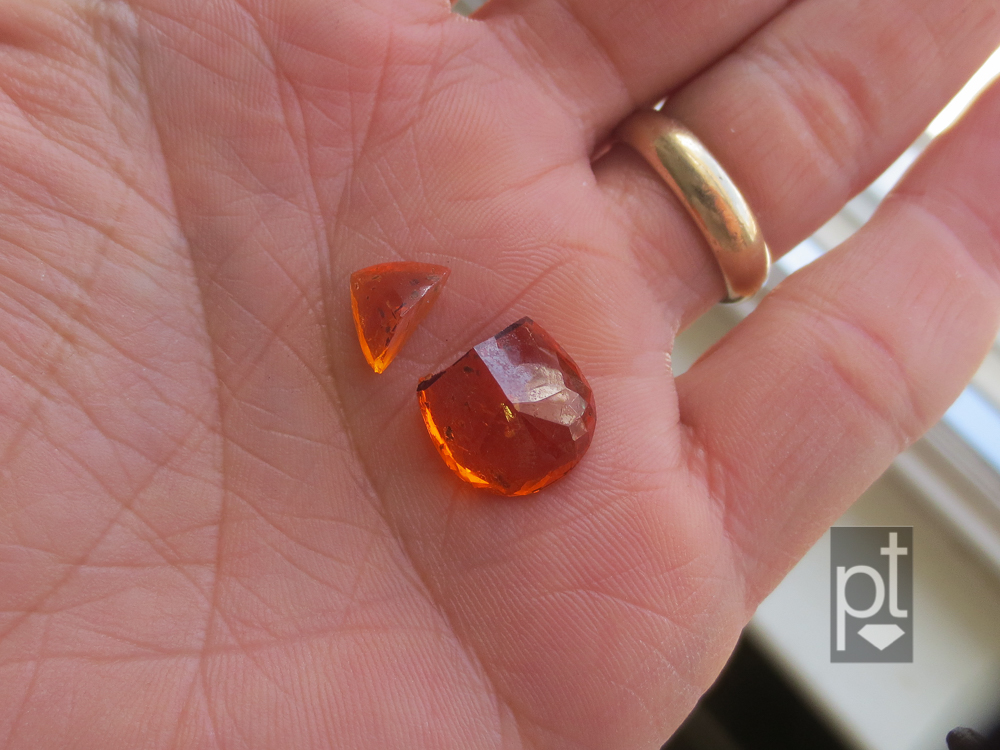
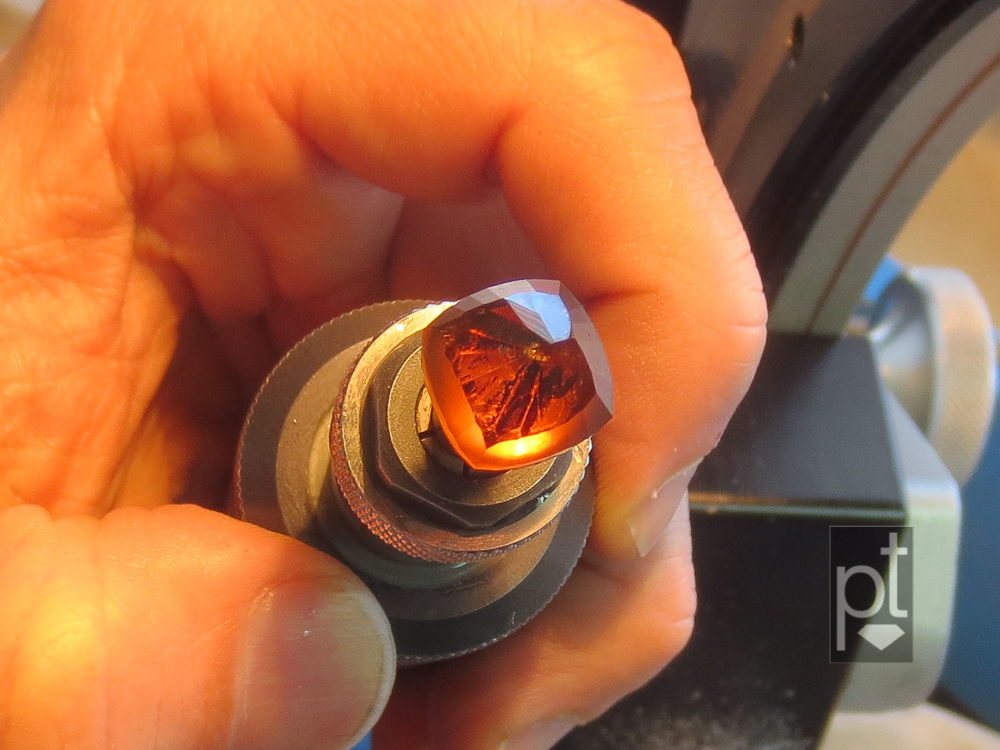
Below, the larger piece cleaned & ready for dopping. The white stuff on the back of the stone is just a putty I use to help in orienting the stone before attaching it to the dop. The next step will be to gently heat the stone & brass dop, then apply a medium temperature dopping wax. All garnets are heat sensitive, though spessartite is usually not a problem, so dopping with wax requires a light touch.

I’ve now placed the first facets on what will be the pavilion of the stone and defined the outline of the final piece. It doesn’t look like I’ve done much here, but these few facets represent a lot of time. Aiming for maximum yield usually means I’m not working with a design diagram, but choosing facets in the moment based on the shape of the stone and inclusions. Since the girdle is the widest part of any gemstone, good facet placement here translated directly to significantly higher yield.
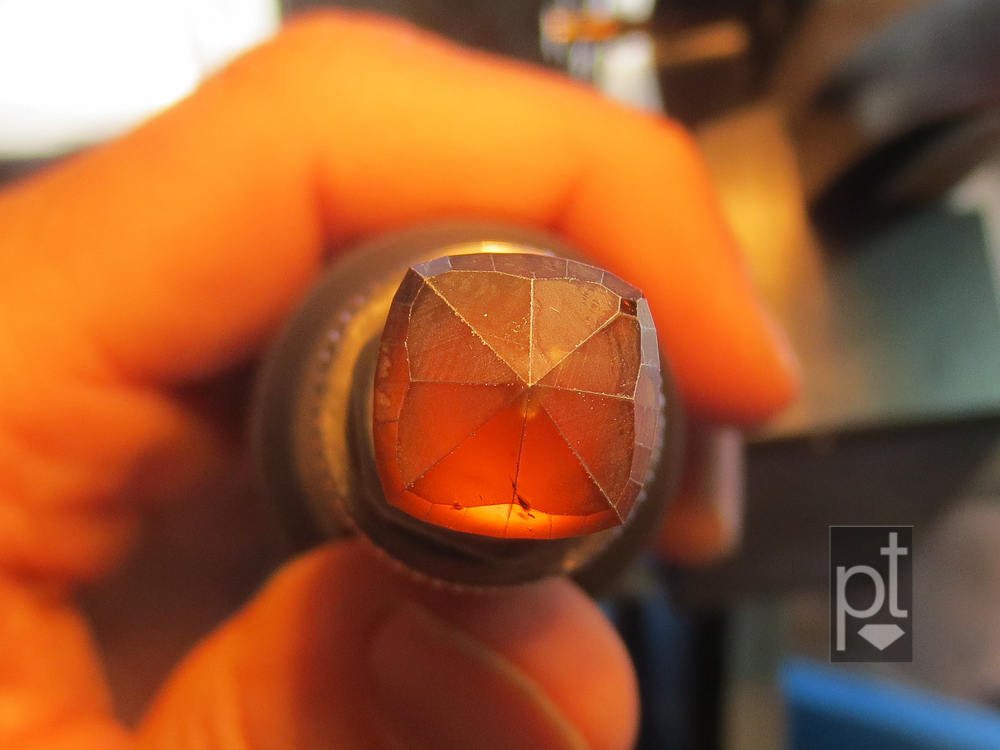
Now the pavilion has been entirely roughed in. I have a girdle outline and a closed culet. The stone now has it’s final shape; other facets will be more concerned with how the light moves than final weight.
If you look closely, you can just see a problem I was about to encounter — there is a set of inclusions hiding almost directly beneath the point of the culet. I had hoped they were innocuous enough to ignore, but a few minutes after I took this image, I found that they were unstable. I was sorely tempted to leave them for the sake of a heavier stone, but there was a good chance they would cause the point of the culet to break off during further cutting or, even worse, in front of a client if the culet were somehow stressed (e.g., stone was dropped or somehow pressured during mounting). The only thing to do was to lower the culet and get beneath the problem.
Here is the final pavilion arrangement, prepolished with 3000 diamond and ready for polishing. It’s a bit of an open secret in gemcutting: if you want a fine polish, you need a very fine prepolish.
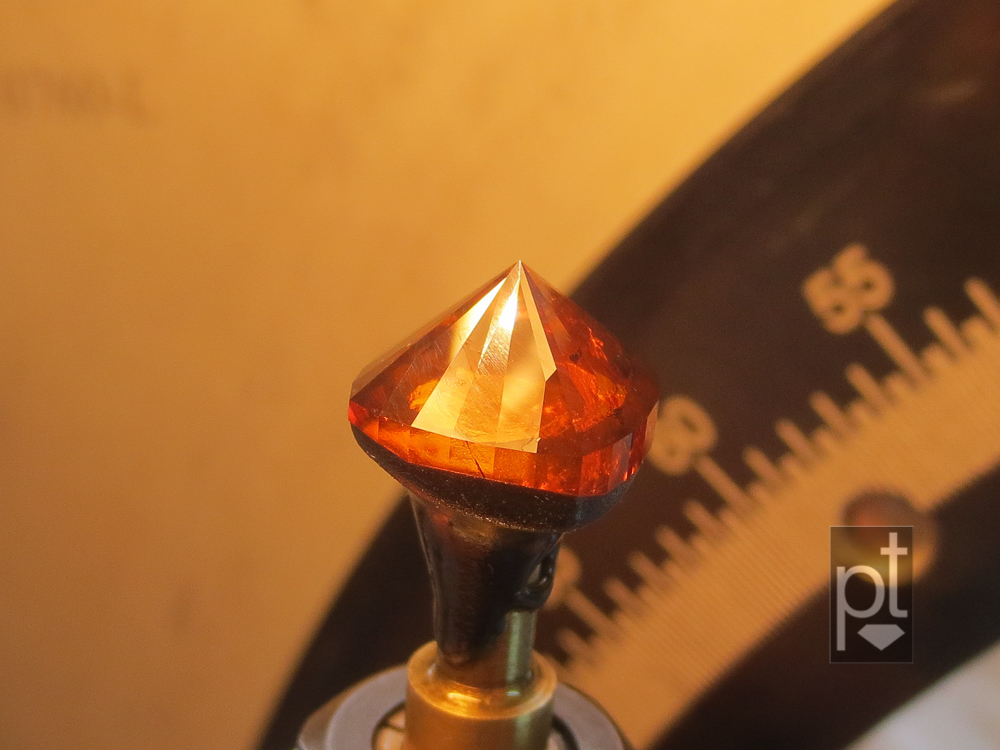
The pavilion is now fully polished and ready for transfer. It’s obligatory to take a picture at this point simply to commemorate the moment. There’s a lot of work represented in the placement & shine of those facets.
Transferring is the process of dopping the finished side of a stone and releasing the unfinished side for cutting. …and, ideally, doing it without losing orientation, introducing a skew or cracking the stone from overheating. For this stone, I chose to use a hybrid dopping technique. Hybrid dopping means employing both traditional dopping wax and modern cyanoacrylate glue (commonly called “super glue”). Though technique is slower than traditional wax dopping, it is less risky. Since it was now the end of the day and the stone would need to wait regardless, I decided to use the glue.
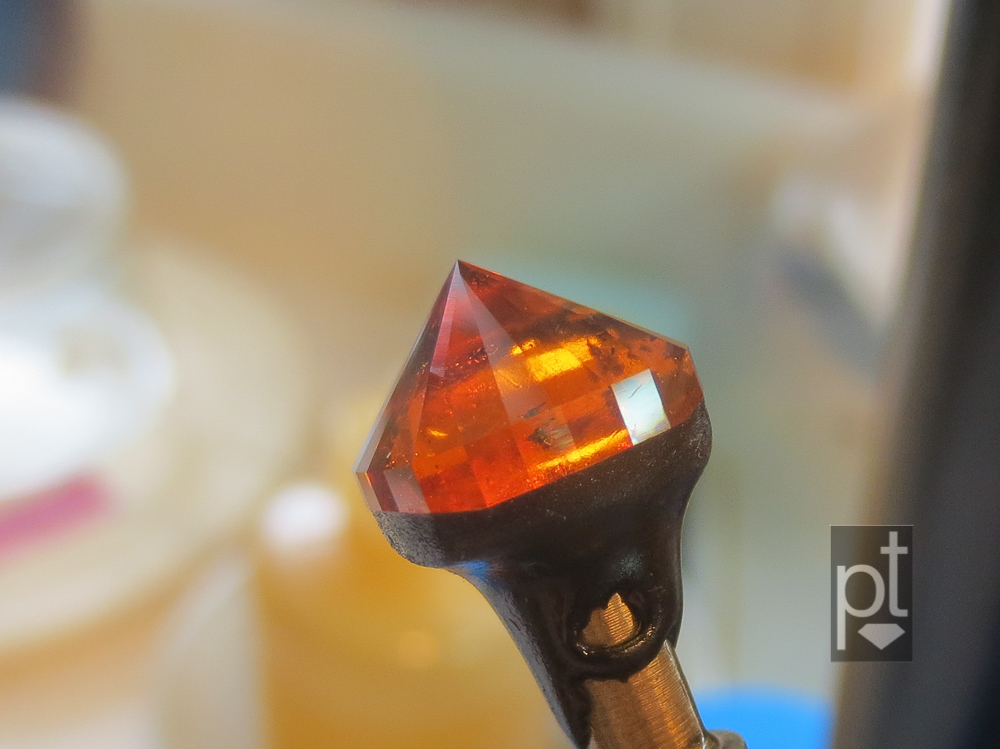
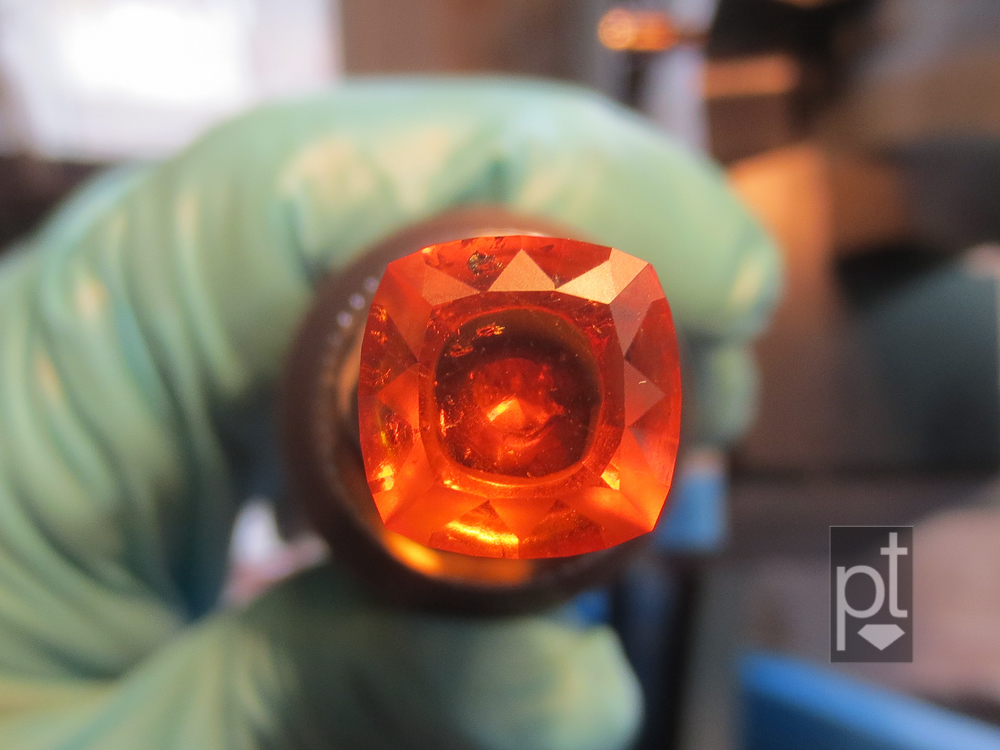
Below is the first look I get at the crown of the stone. Because of the glue and wax, you can’t see how the pavilion preforms yet, but it looks promising so far. The stone looks skewed here because the crown’s facets are from the original pear & not yet square to the new outline I’ve made.
Cutting the crown follows much the same process as cutting the pavilion, so I didn’t take the time to document it. But I had to make this next image to share with you.
Prepolishing has become my favorite part of the faceting process. I love seeing the contrast between the rough surface left by the cutting lap and the bright, clear facets left by the prepolish lap. But to me, there is something profound here too: the harsh grinding of the cutting lap has provided the final facet arrangement, but the pattern is loose and nothing is clear. The finished stone is only a future hope. Prepolish is when that hope begins to dawn: the cloudy, coarse surface is removed, facets are refine and clear light enters the stone. The future hope becomes present reality. All in all, not a bad illustration of how the Christian life should work.
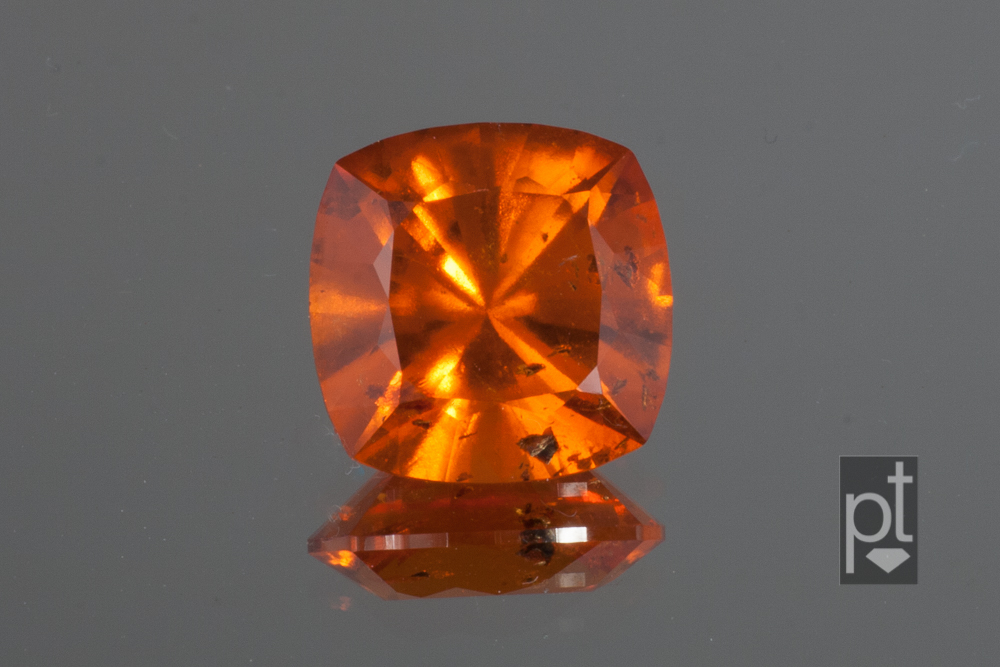
After a final polish, the stone is removed from the dop and the glue is soaked off in acetone. The spessartite is now 7.3ct, 11.3×11.3mm square. It’s quite a bit smaller than the original stone, but significantly more attractive and (hopefully) easier to sell.
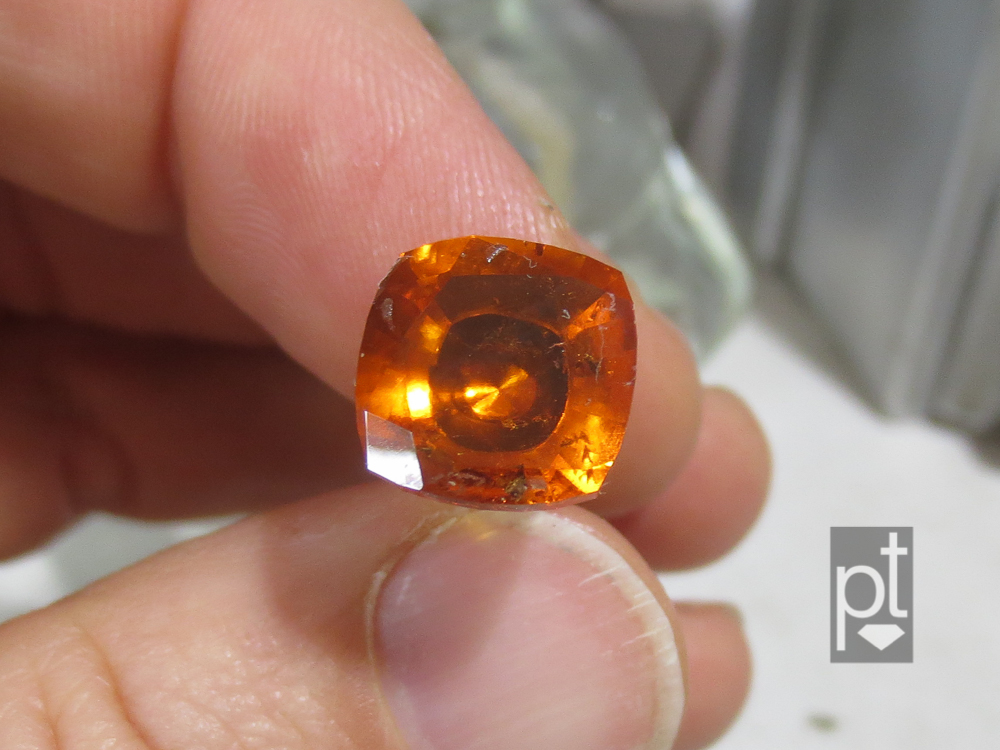
The comparison and formal images I have of this stone are taken with a 105mm macro lens. This lens gives a lot of magnification — keep in mind, this stone is only 11mm wide, not the size you see it here! These following two images give a better idea of how the stone looks when held in the hand in natural daylight. The first is indirect sunlight:
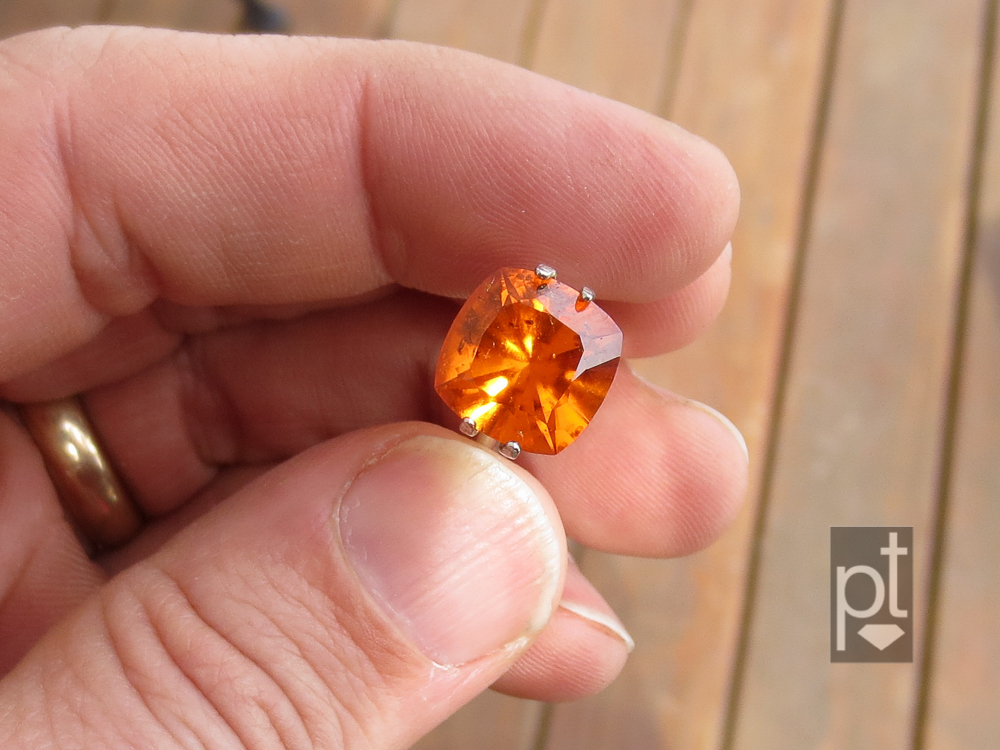
This image was taken in shadow, a few steps away from the image directly above.

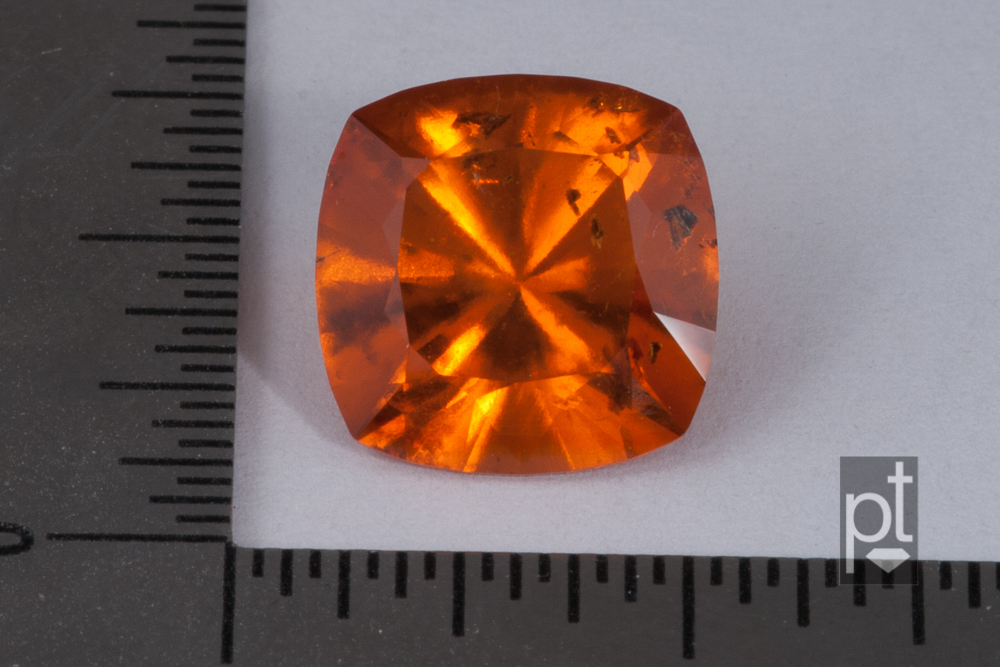
And just for good measure, my formal image of the same stone:
As of this writing the stone is available. Please inquire for pricing.
Thanks for reading!